This economy is making us all DIY enthusiasts! It’s much cheaper to do everyday house repairs on your own than to pay a handyman a hefty bill.

Fortunately, if something can be done – there’s an online guide on how to do it best. This article is one of those wisdom nuggets – we’ll share advice for painting your walls on your own. Happy painting!
Basic terminology
This section will focus on the basics – what you need to come to terms with before you even buy your first paint roller.
What is paint?
Wall paint is a chemical compound that has three basic components – pigments, resin and a solvent. The pigments are the actual color. The resin is the glue, or binding agent. And the solvent makes sure the whole mixture is liquid. It evaporates after the paint has been put on the wall.
There’s cheap paint, and then there’s expensive paint. The main difference between the two is that cheap paint tends to have a higher ratio of solvent. That means that you’ll need more coats to get your desired shade.
Another difference is in the other active ingredients some specialty paints include, for example, the stuff that makes fire retardant paint repel flames.
Types of paint
There are two main categories of paint, divided by the type of solvent they use: water-based paint and oil based paint.
Water-based paint is, just to add to the amount of confusion in the world, usually called ‘latex paint,’ even though they do not contain any latex. Water based paints with an acrylic component are called ‘acrylic latex’ paint.
Not surprisingly, oil paints also usually don’t contain oil. They use mineral spirits as a solvent or alkyd resin. The mineral spirits are colloquially called ‘paint thinner’.
Oil-based paints are thinned using mineral spirits, while water-based paints are thinned with water.
Water based paint is more durable, less toxic, and prevents moisture build up. It can withstand movement, it dries quicker, and it has a wider range of colors and sheens. For these reasons, water-based paints are the usual choice for domestic use.
Oil based paint has a stronger odor, which makes it require stronger ventilation. It dries slower, so paint brushes aren’t as visible when it dries.
Primers and sealers
A lot of DIY house painters skip this crucial part of the painting process – applying the primer.
A primer is the first coat of material you put on a wall. The wall should be prepared by thoroughly cleaning it and removing specs of dust.
The primer prepares the surface for the top coats – paint adheres much better when there’s an undercoat of primer.
If you’ve got hairline cracks or holes in the wall, it’s a good idea to use sealer. Sealers prepare the surface by smoothing out any unevenness, which allows for a much finer paint job.
Different types of paint sheen
The term ‘paint sheen’ refers to the amount of shininess that the paint displays when dried. There are usually five gradients of sheen – Flat (Matte), Eggshell, Satin, Semi-gloss, and Gloss.
The less sheen a paint has, the less it shows mistakes made during the painting process. However, they also make surfaces more difficult to wash and tend to scrub away with the dirt.
The paints in the higher sheen categories reflect a lot of light and they make cleaning much easier.
How to choose a color
Choosing the color of your walls is a difficult and important decision – you’ll be staring at that color for most of your day. So to decrease stress, here are a few tips on how to choose the perfect wall color.
There seems to be an infinite amount of colors. It seems that way, but there really aren’t. There are only seven – red, orange, yellow, green, blue, indigo and violet. Ask any rainbow, it’ll tell you the same.
The first step is to eliminate the colors that you surely won’t use. That’ll leave you with three or four options.
Then, pick the color of an important item in your living room, for instance, a sofa cushion. Or something that you hold dear to your heart, like a piece of clothing. Take them to the paint store and choose a shade that’s close to them.
Pick two more complementary colors to the main one you’ve chosen and scatter it across your home. This will provide a sense of aesthetic unity. You can also consider creating an accent wall by covering it with wallpaper.
The equipment you’ll need
No job can be done without the correct tools!
Here’s a list of the necessary equipment for a good wall painting:
- Paint
- Paint rollers of different sizes
- Extension poles for the rollers
- A protective sheet for the floors
- A couple of paintbrushes of different sizes
- Painter’s tape to protect room trims, furniture edges and other bordering surfaces
A ladder
Another crucial question is – how much paint do you need? A general rule of thumb is a gallon per 400 square feet of the surface. That’s accounting for two coats of paint Bear in mind that if you’re going from a darker to a lighter shade, you’ll need more coats. Also, if you’re going for a really deep and dark shade, that requires more paint as well.
A general gameplan for painting your wall
After you’ve decided on the color, got all the necessary equipment and planned out the design, it’s time to get to work. The key here is to be patient and methodical, to think through all of the steps before even starting to mix your paint.
1. Room prepping
Remove all furniture from the room – you don’t want any paint dripping on the heirloom furniture. If you don’t have enough space to put it elsewhere, put it in the center of the room and drop some cover on it.
Give the entire room a thorough dusting – dust specs prevent the primer and paint from adhering properly to the surface.
Using a roll of painter tape, cover up the moldings and trimmings of your room. That includes window and door frames. That’ll make your margin of error much larger – you won’t have to worry about ruining those elements. Try to get a good, taught seal – that’ll make the tape more effective, as well as make it easier to take off.
2. Mix the paint
Use a wooden stick to stir the paint. Do this thoroughly and frequently throughout the painting process. This’ll prevent the ingredients from separating and give you a consistent material to work with. If you have a number of smaller cans, mix them all in a larger bucket. This will account for the potential inconsistency of the colors.
3. Go one wall at a time
Focus your attention on one wall at a time. If you choose a focal wall to paint with a bolder color, paint the walls surrounding it first.
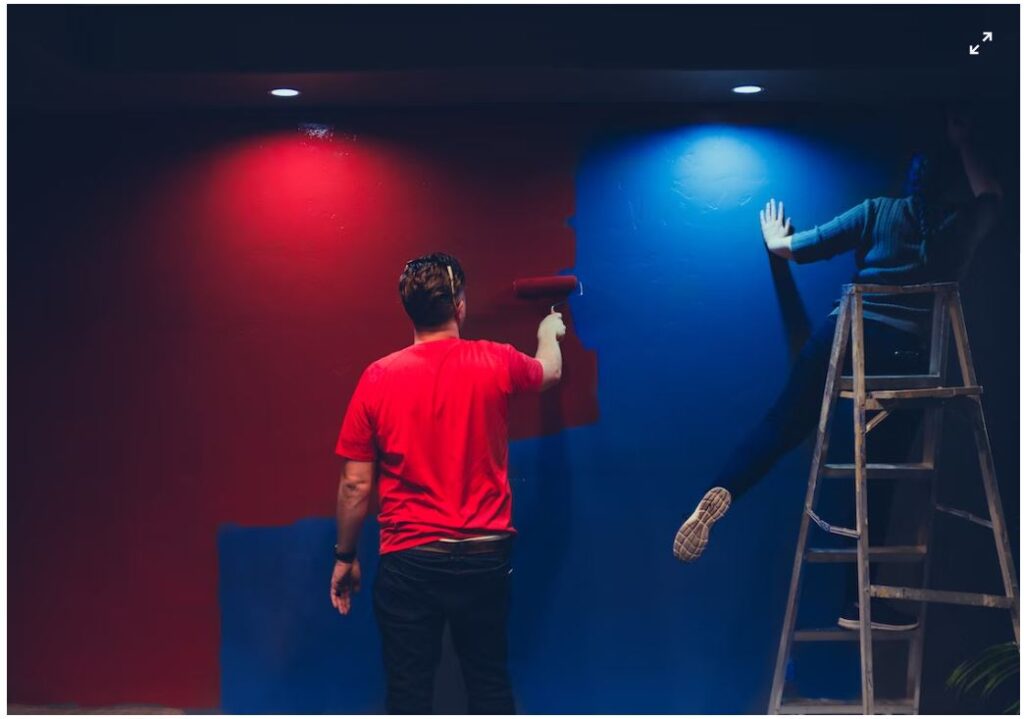
Start painting from the outside and go in. Use broad strokes in a W shape for consistent color and spread, as well as to avoid roller marks. Use the brushes to get to the finer details of the nooks and crannies.
Once you’ve applied the primer, you can go for the first coat of paint. After that coat is dry to the touch, you can apply the second one, and you’re done!
Conclusion
Painting a wall is not rocket science – but it does require patience and a dose of precision.
Don’t forget to ventilate the room you’re frequently painting, as the fumes can cause nausea and adversely affect your ability to paint. Plan for a great big clean up.
Most importantly of all – don’t rush. Give yourself enough time to finish the job properly.


